Integrate Stripe Payment Gateway with Vue 3 and Laravel
How to integrate Stripe Payment Gateway with Vue 3 and Laravel without using any external package?

This article is the second part of the payment gateway integration with Vue 3 & Laravel. This time we will discuss integrating Stripe Payment Gateway without using any external package. Stripe Payment Gateway
There are many Vue 3 components available for integrating Stripe Payment Gateway. Though I respect the open-source authors for making such components available for FREE, but I am not a big fan of external packages. I try to keep the number of external packages as low as possible because there are times when package authors don’t update their package (for any reason) or the package has any compatibility issues when you try to update your application.
Simply, if I can create the component myself, I don’t use any external package.
Hi, I am a Full Stack Developer working with Laravel, Vue.js & Tailwind CSS.
Stripe is one of the most popular Payment Gateway which allows you to collect payment worldwide via Credit Card and other payment methods.
Integrating Stripe Payment Gateway with Vue 3 & Laravel is quite simple.
To start with the integration, make sure you have an active and verified account with Stripe. Once you signup, you will need to provide some information related to your business. Stripe may take 2–3 working days to activate your account. In my case, I got a verified account in less than 4 hours.
Once your account is activated, login into the Stripe dashboard. Navigate to Developers -> API Keys and generate key/secret pair for integration.
Before going for any live transactions, you should always test your transactions in test mode. You can generate key/secret pair for the test as well as live mode.
Next, you need to add the Stripe composer package to your Laravel Project which you can do using the below command:
composer required stripe/stripe-php
Next, We will load the Stripe JS file to process the payment securely and also to ensure that payment details are sent directly to Stripe without hitting other server.
<script src="https://js.stripe.com/v3/"></script>
Next, we will need 3 different APIs to process the payment.
Payment Initiate API
Payment Success API
Payment Failure API
Let’s create these APIs in your route file.
use App\Http\Controller\StripeController;

Route::post('payment/initiate', [StripeController::class, 'initiatePayment']);
Route::post('payment/complete', [StripeController::class, 'completePayment']);
Route::post('payment/failure', [StripeController::class, 'failPayment']);
Let’s create StripeController class with initiatePayment method.
use Stripe\StripeClient;
use Stripe\PaymentIntent;
use Illuminate\Http\Request;
use Illuminate\Support\Str;
use Stripe\Stripe as StripeGateway;

public function initiatePayment(Request $request)
{
    StripeGateway::setApiKey('STRIPE_SECRET_KEY');

    try {
        $paymentIntent = PaymentIntent::create([
            'amount' => $request->amount * 100, // Multiply as & when required
            'currency' => $request->currency,
            'automatic_payment_methods' => [
                'enabled' => true,
            ],
        ]);

        // Save the $paymentIntent->id to identify this payment later
    } catch (Exception $e) {
        // throw error
    }

    return [
        'token' => (string) Str::uuid(),
        'client_secret' => $paymentIntent->client_secret
    ];
}
Stripe processes the amount in cents for maximum currency i.e. you need to multiply the amount by 100. There are some zero decimal currencies like JPY which don’t need any multiplication.
To initiate a payment, we first need to create a Payment Intent with Stripe Payment Gateway. We will pass the amount and the currency of the payment and save this Payment Intent for future use.
This Payment Intent also generates a Client Secret which we will pass as a response.
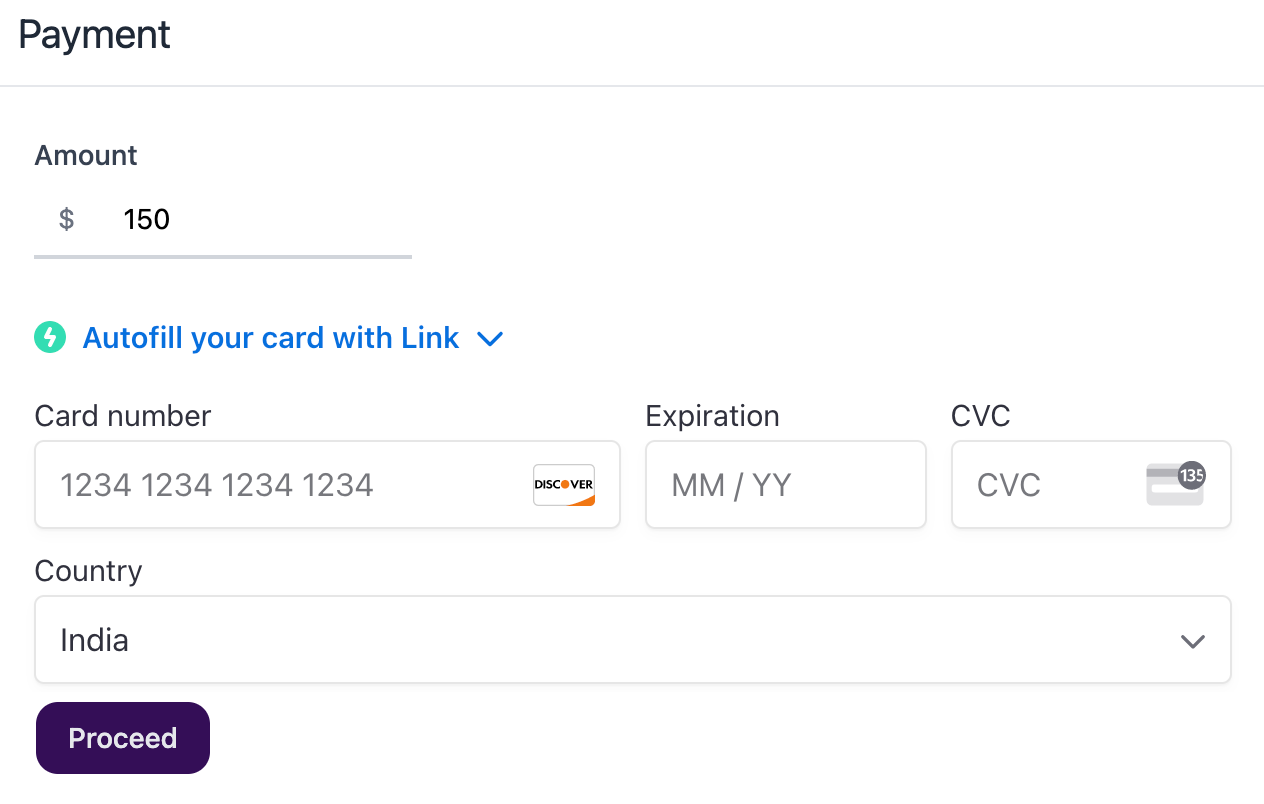
Now, we will create a Payment.vue component as follows:
<template>
    <form id="payment-form">
        <div id="payment-element">
            <!-- Stripe will create form elements here -->
        </div>
        <button type="submit" @click="handleSubmit">Pay via Stripe</button>
    </form>
</template>

<script setup>
import { ref, onMounted } from "vue"

const token = ref(null)
const stripe = ref(null)
const elements = ref(null)

onMounted(() => {
    axios.post('INITIATE_PAYMENT_API', {
        amount: 150,
        currency: 'USD'
    }).then(response => {
        token.value = response.token // Use to identify the payment
        stripe.value = Stripe(STRIPE_PUBLISHABLE_KEY);
        const options = {
            clientSecret: response.clientSecret,
        }

        elements.value = stripe.value.elements(options);
        const paymentElement = elements.value.create('payment');
        paymentElement.mount('#payment-element');
    }).catch(error => {
        // throw error
    })
})

const handleSubmit = async (e) => {
    e.preventDefault();

    const { error } = await stripe.value.confirmPayment({
        elements: elements.value,
        redirect: "if_required"
    });

    if (error === undefined) {
        axios.post("PAYMENT_SUCCESS_API", {
            token: token.value,
        })
    } else {
        axios.post("PAYMENT_FAILURE_API", {
            token: token.value,
            code: error.code,
            description: error.message,
        })
    }
}
</script>
We are basically creating an empty form without any input. The reason for creating an empty form is that Stripe Payment Gateway dynamically creates form input and Credit Card details are sent securely to the Stripe server only.
The mounted method of the component generates the form dynamically by using the publishable key & client secret sent by the payment initiates API.
Once you click on the “Pay via Stripe” button, the handleFunction confirms the payment with the Stripe server.
If the payment is successful i.e. there is no error with the payment, you can call the Payment Success API with the token you received during Payment Initiate API.
use Stripe\StripeClient;
use Illuminate\Http\Request;

public function completePayment(Request $request)
{
    $stripe = new StripeClient('STRIPE_SECRET_KEY');

    // Use the payment intent ID stored when initiating payment
    $paymentDetail = $stripe->paymentIntents->retrieve('PAYMENT_INTENT_ID');

    if ($paymentDetail->status != 'succeeded') {
        // throw error
    }

    // Complete the payment
}
In case of any error, you can call Payment Failure API with the error details.
use Illuminate\Http\Request;

public function failPayment(Request $request)
{
    // Log the failed payment if you wish
}
Creating your own component to do the job always feels good. You are basically no longer dependent on any other external package.
If you face any issues or have any query, you can write me at hello@scriptmint.com