

Set up VuTaL Stack for Development
Build SPA application with VueJS, Tailwind CSS & Laravel


Note: You should have basic knowledge of Laravel, NPM commands before you setup this VuTaL Stack.
VuTaL is one of the most common dev stack you will notice in Laravel Community. I personally choose VuTaL Stack when I need to build Single Page Web Application (No page refresh) with REST API Feature. The REST API also helps to further integrate the application with any other services or to build a Mobile Application.
If you are looking for an example app built with VuTaL Stack, you can check here.
Github Repo: github.com/scriptmint-solution/vutal-stack-..
Here are the steps I prefer to setup VuTal Stack.
Setup Laravel 8
You must have Composer v2 installed on your system.
If you wish to install Laravel with Composer, you can run:
composer create-project laravel/laravel vutal
cd vutal
Or
If you have installed Laravel Installer globally as composer dependency, you can run:
laravel new vutal
cd vutal
Install VueJS 3
You must have nodejs installed on your system. As per my dev environment, I am using Node v16.x & NPM v7.x for the development.
To install VueJS 3, you can run:
npm install vue@next
As of now, default VueJS version is 2.x. Version 3.x will become default on 7th Feb 2022 as per Vue Creator Evan You.
You also need to install additional dependencies by running below command:
npm install resolve-url-loader sass sass-loader vue-loader --save-dev
Next, go to resources/js/app.js file and register your application instance.
import { createApp } from "vue"

const app = createApp({});

app.mount("#root");
Now, we will create our first Vue Component. Create a HelloWorld.vue file under resources/js/components folder as below:
<template>
    Hello World!
</template>
To register this HelloWorld component, add it in the resources/js/app.js file as below:
import { createApp } from "vue"
import HelloWorld from './components/HelloWorld.vue';

const app = createApp({});
app.component('hello-world', HelloWorld);

app.mount("#root");
Now, let's change resources/views/welcome.blade.php default content to load this Vue instance.
<!DOCTYPE html>
<html lang="en">
    <head>
        <meta charset="utf-8">
        <meta http-equiv="X-UA-Compatible" content="IE=edge">
        <meta name="viewport" content="width=device-width, initial-scale=1">
        <title>Hello World</title>
    </head>
    <body>
        <div id="root">
            <hello-world></hello-world>
        </div>
    </body>
</html>
Vue application needs to be mounted into a DOM element. For example, to mount a Vue application, we should pass the id "root". Also note that the is the custom component we registered with this Vue instance.
At this point, when you visit your application in the browser, you will get an empty page.
Add Tailwind CSS 3
To install Tailwind CSS 3, you can run:
npm install -D tailwindcss
npx tailwindcss init
This will create tailwind.config.js file which you can use to configure your tailwind setup. The default content of tailwind.config.js is as below:
module.exports = {
  content: [],
  theme: {
    extend: {},
  },
  plugins: [],
}
Next, create an app.scss file under resources/sass folder and put following content:
@tailwind base;
@tailwind components;
@tailwind utilities;
In the final step, we will need to compile these assets. Laravel by default offers webpack.mix.js file to compile assets. Let's modify this file.
const mix = require('laravel-mix');
const tailwindcss = require('tailwindcss');

mix.js('resources/js/app.js', 'public/js')
    .vue()
    .sass('resources/sass/app.scss', 'public/css')
    .options({
        postCss: [ tailwindcss('./tailwind.config.js') ],
    });
You need to run npm command to compile assets.
npm run dev
The assets are generated under public folder as shown in the image below:
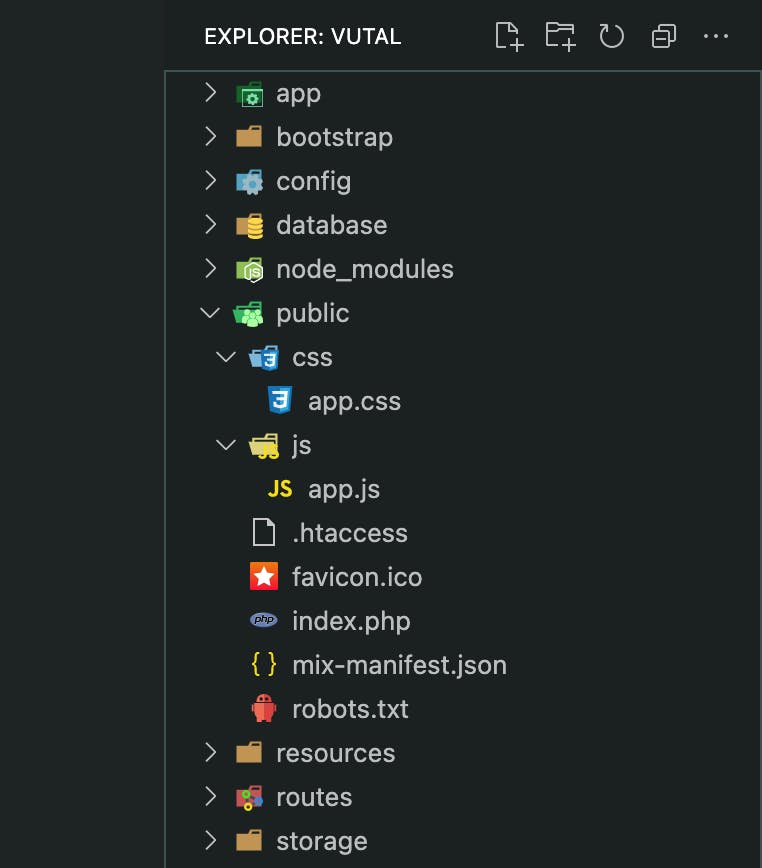
You can link these assets to your welcome.blade.php file as below.
<!DOCTYPE html>
<html lang="en">
    <head>
        <meta charset="utf-8">
        <meta http-equiv="X-UA-Compatible" content="IE=edge">
        <meta name="viewport" content="width=device-width, initial-scale=1">
        <title>Hello World</title>
        <link href="/css/app.css" rel="stylesheet">
    </head>
    <body>
        <div id="root">
            <hello-world></hello-world>
        </div>
        <script src="/js/app.js"></script>
    </body>
</html>
You are almost done. You can now visit the application in your browser and you should see "Hello World!" content without any styling.
Let's add some Tailwind styling to your HelloWorld.vue component:
<template>
    <div class="h-screen w-full flex justify-center items-center bg-gray-800">
        <span class="text-gray-400">Hello World!</span>
    </div>
</template>
Again build your assets, using npm run dev command and refresh your browser. Nothing happened! Yes.
Tailwind generates css hundreds of classes and that will become huge in size. Therefore, by default Tailwind removes (purges) all the unused classes.
Remember in our tailwind.config.js file, we have content section as empty array. Let's modify this to search for all the .vue files and remove all other unused classes.
module.exports = {
  content: [
    './resources/**/*.vue',
  ],
  theme: {
    extend: {},
  },
  plugins: [],
}
Now build your assets, using npm run dev command and refresh your browser.
Hurray! You have setup your first VuTaL Stack. Happy development!